Publishing HTML help
HTML is preferable if your software is platform-independent and users can also open the help file in their web browsers on any operating system. Storing help files as HTML pages on your website is also useful when you update your documentation frequently by adding new topics and pages. In this case, users do not have to download the entire help file after each update.
There is one special feature of HTML export, which is that Dr.Explain allows you to check the functionality of HTML search immediately after export - locally, so there is no need to use a server for this purpose, and there is no possibility of a file download error with all modern browsers.
There are several ways to publish your help project to HTML:
-
click
 on the application toolbar;
 -
go to the Options menu and click the Export to HTML menu option;
-
use the Alt+Shift+L keyboard shortcut.
The following dialog window will appear:
|
Check this option to validate your project files before publishing them.
|
|
Check this option to upload output files onto your web server automatically via FTP or onto your Tiwri site.
|
|
|
Once the publishing process is completed you can use the generated files (from the folder you specified in the path field) to upload them to your website and turn into online help for your application.
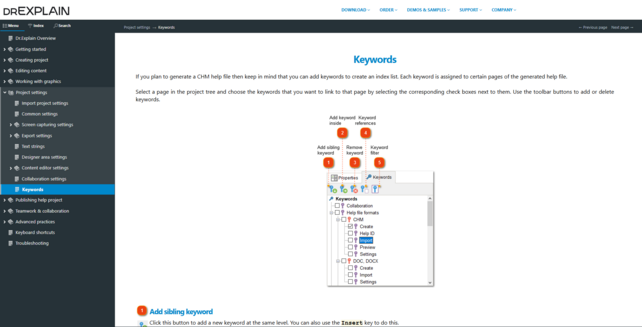
Upon completion of the publishing process, Dr.Explain will open the generated HTML help in your default browser:

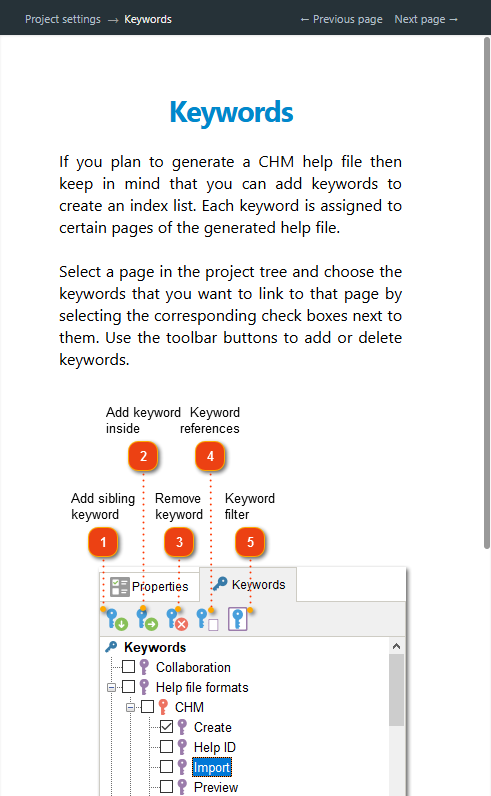
The web help layout is responsive and is optimized for small screens of mobile and tablet devices as well:

